Repair Manual
Roomba Robot Vacuum Battery Troubleshooting
Roomba robot vacuums take all the fuss out by vacuuming your floors automatically. But this intelligent device doesn’t just clean well. It also communicates errors very clearly. This article will teach you how to troubleshoot Roomba vacuum errors and get the unit functioning well again.
Roomba robot vacuums are using audio beeps/recordings and a blinking light to report charging errors. The sound and the number of light flashes correspond to charging errors 1-3 and 5-9. In many cases, performing a reset of the charging system will resolve the issue. Many errors can also be solved by rubbing isopropyl alcohol on dirty charging contacts found on the dock, the Roomba, and the battery itself.
Whenever you’re facing a battery-related problem with your Roomba, your first troubleshooting step should be to reset the charging system itself. For example, you might notice that your Roomba is running much shorter cleaning cycles than usual. Another common issue is that the Roomba might return to its docking station much sooner than usual, even though its battery is still full.
In many cases, resetting the charging system will allow your Roomba to charge and discharge correctly and return to its normal behavior.
How to do it:
Thankfully, this task is straightforward to carry out. Hold down the “Spot” and “Dock” buttons for 15 seconds or more to reset your Roomba’s charging system. Keep holding those buttons until the Roomba unit plays a song that lets you know it has been reset.
Once you hear that song, you can let go of the two buttons and see if your Roomba operates normally again. Bear in mind that any special cleaning schedules or other settings may also be reset along with this process, so you’ll need to input those again.
-

 Oven Repair15 hours ago
Gas Oven Takes Forever To Preheat
-
 Repair Manual11 hours ago
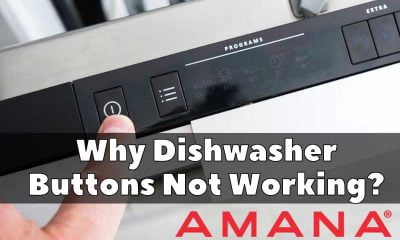
How To Fix Not Working Buttons on AMANA Dishwasher?
-
 Repair Manual19 hours ago
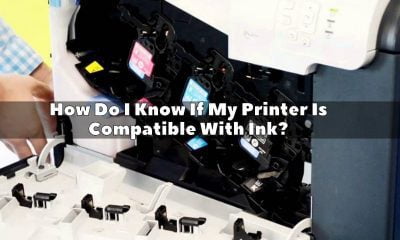
How Do I Know If My Printer Is Compatible With Ink? – Troubleshooting Guide
-
 Repair Manual7 hours ago
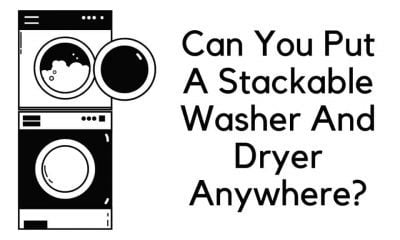
Can You Put A Stackable Washer And Dryer Anywhere?
-
 Repair Manual3 hours ago
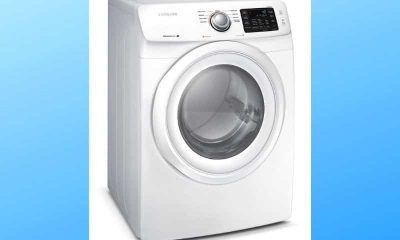
Samsung Dryer Not Heating? Why It Happens & How To Fix?
-
 Repair Manual23 hours ago
Why Frigidaire Freezer Not Freezing But Fridge Is Cold? How To Troubleshoot?